If you ever use software instruments, or you have a dislike for using a mouse, or if you just want to get all “hands-on” with your music production, the chances are you will need/want a MIDI controller for your home studio. Here’s how to ensure you buy the right controller for your needs.
Tip 1: Figure out what you need it for. MIDI controllers can have a great number of features, and it is important that you a) buy a MIDI controller that meets your own individual needs b) don’t buy a MIDI controller with features you don’t need straight away.
Do you want to just play notes? Do you want to be able to tweak the controls on your software instruments? Or do you want to have a full deep integration of your DAW – controlling it with minimal use of your mouse.
When you first start out with a home studio, the chances are that you won’t need an overly complicated controller. The very first MIDI controller I ever bought was a cheap Evolution EKeys 49.
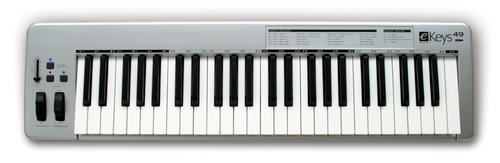
I didn’t need it to do much – I just wanted to be able to basically play notes into my DAW. No buttons, no sliders, just notes! It was ridiculously simple and ridiculously cheap. It served its’ purpose, and for about 10 years, this was the only controller I had.
However, if you need an ability to tweak the controls on a software instrument, then you will a controller with keys, sliders, encoders and buttons will be your requirement. In my case, I bought a Novation Remote 25SL.

Yep, it did what I wanted it to, and then some. It could control my software instruments, and there were plenty of knobs, sliders and buttons to do that! Bonus was that it could also control the transport of my DAW. But it was incredibly complicated to use!!!
Tip 2: Buy a MIDI controller that improvesyour workflow. This one is huge. For many of us, we buy a controller because we want things to just go faster and smoother. Unfortunately, a number of controllers out there (based on my own experience) are just way too complicated to operate. In the case of the aforementioned Novation 25SL, for me this was an insanely complicated machine, and slowed my workflow down. I spent way too much time getting this to do the things I wanted it to, and not enough time making music. The problem in this regard was the fact that in order for the Novation to talk to my DAW, it needed to run an additionalpiece of software (called Automap). This software was also complicated.
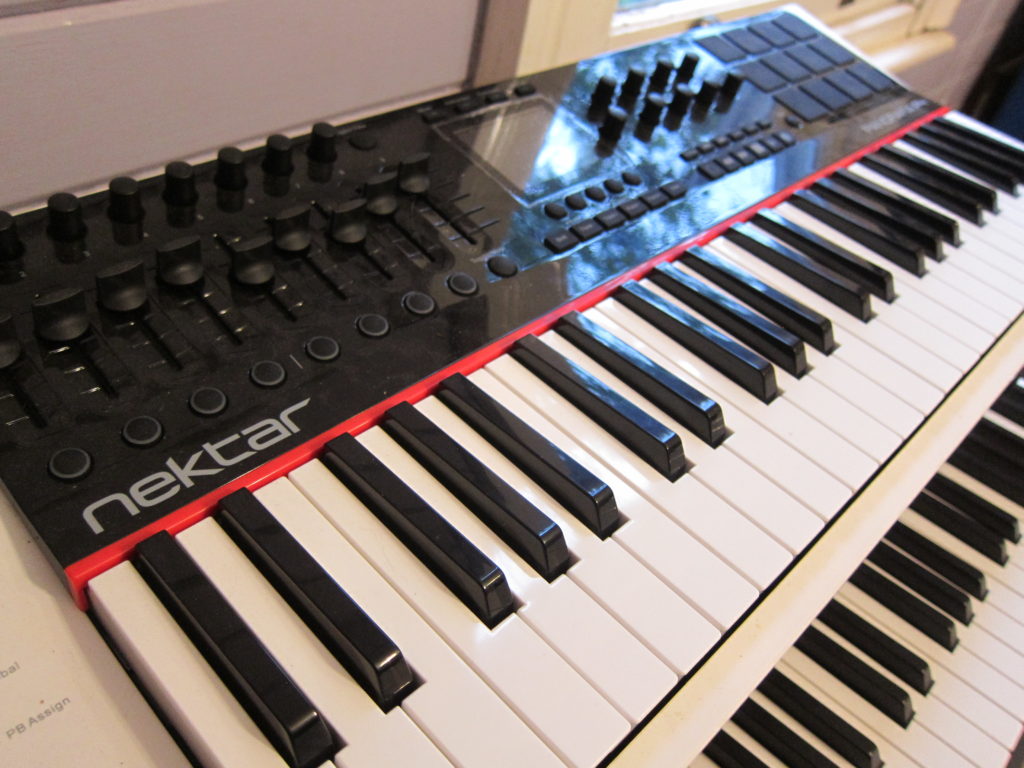
I opted recently for a Nektar Panorama P4, and I am simply astounded as to how it improves my workflow. The integration it has with Propellorheads Reason has meant that things happen a lot faster when making music. I spend less time on making the controller work, and more time in creative workflow.
Tip 3: Look for a MIDI controller that was designed with your DAW in mind. This speaks to tip 2 above. There are many MIDI controllers on the market that are extensions of the software itself. A controller with the “end game” in mind will be so much simpler to use, and immensely improve your workflow. Things will just work, and all the headaches of mapping will be taken care of.
The other aspect of this is that you will spend less time looking at the computer screen, and as a result, you just turn dials on your controller. This gives you an immediate sense of dynamic movement, especially on software synths. By turning knobs and faders on the controller, your sound changes and suddenly creative options emerge.
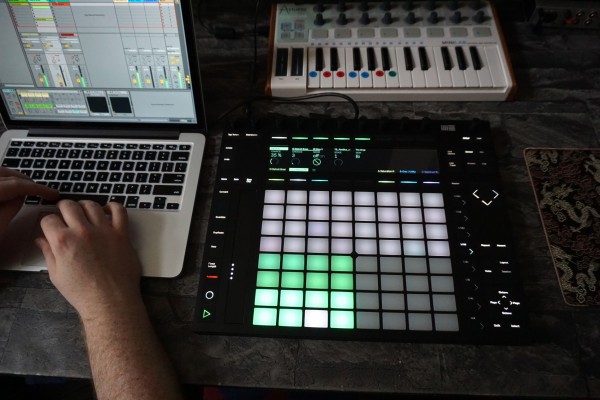
Ableton Push for example, allows flawless integration with Ableton, but can also be a controller for other DAWs and software instruments.
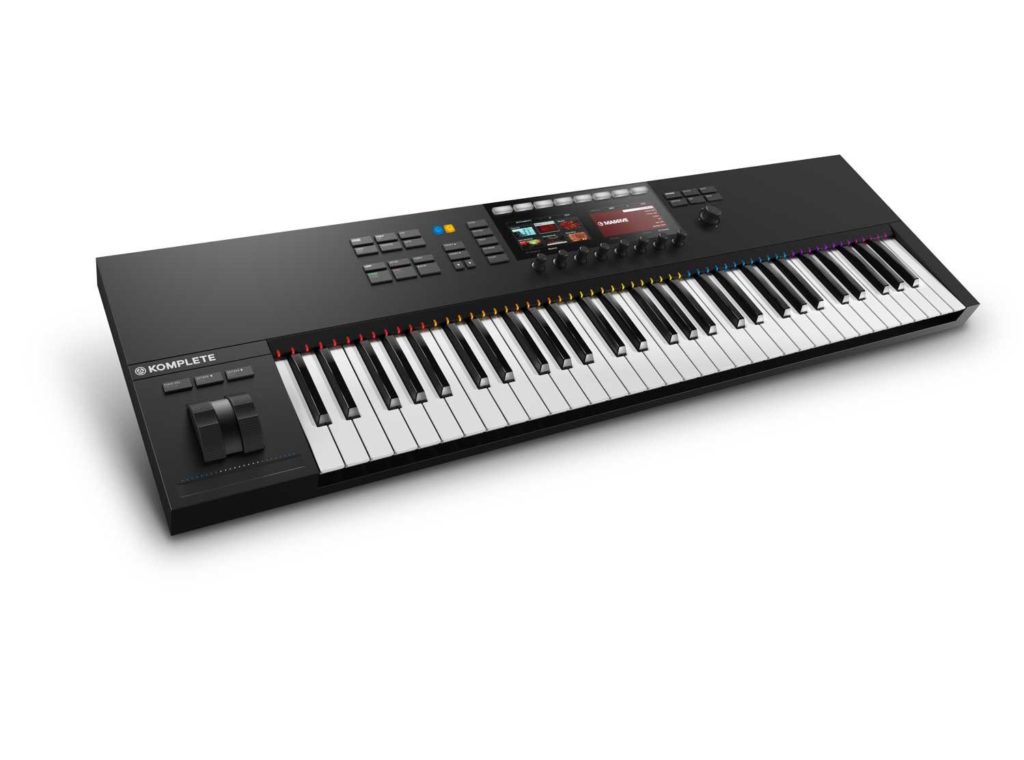
The Native Instruments range of controllers for Komplete, Maschine and Traktor are other examples where the controller is designed specifically for the software.
Tip 4: Get MIDI controllers that have more keys – 49, 61, 88. While smaller 25 note controllers are great for portability, you need to factor whether you actually needportability (ie tip 1). Every MIDI controller I have pretty much never leaves the studio, so portability is not a consideration.
The problem with 25 note controllers is that realistically you can only play one hand at a time, and the limited range of notes available is really constricting. This might not seem like a big deal at first, but believe me having more notes available means you can play a greater range of notes and hear your sounds across a wider key range. The flexibility of being able to play a MIDI controller with 2 hands creates your parts faster and is ultimately more productive.
A greater number of keys also allows for easier splitting of keys that are send to different sounds.
Even if you can’t play keyboards properly (like me), you never know when a “real” keyboard player comes to your studio. You want them to get their parts down quickly.
Tip 5: A better build is definitely worth it. MIDI controllers are physical devices, so a strong physical build will mean that your buttons, sliders, keys and controls will last through years of use. The controls need to feel easy to manipulate, but should offer someresistance when moved.
In addition, all controls should feel consistentwhen moving them. Moving one fader or control should not feel any different from moving another one. Sliders/faders should glide with relative ease and not get stuck or feel “scratchy” when moving them. More expensive product will give you this.
You might find that over time, your cheaper-build controller will suddenly stop working. Faders are particularly a problem area, as dust gets inside the slider and prevents contact. Better quality builds mean that your controller will provide good service for years.
You must be logged in to post a comment.